This post is all about how to use your academic planner
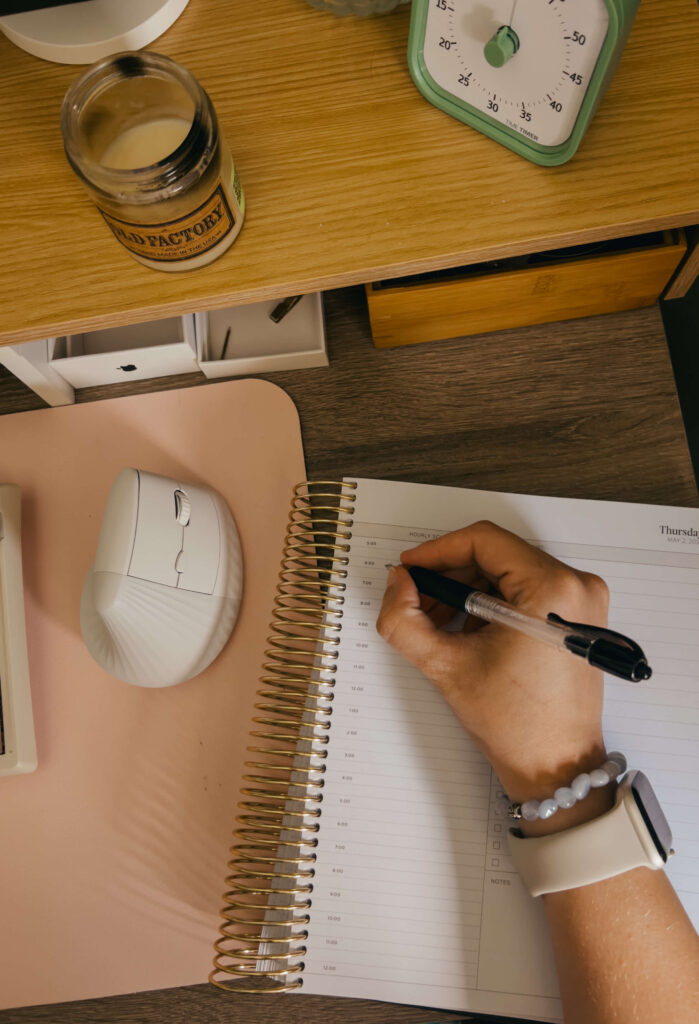
The first time I owned a planner was in elementary school. My teacher handed all of us a planner on the first day of school and said we needed to use it. We also had to have our parents sign in at the end of the week or we would get in trouble (a hole punch in our planner. It was terrifying). But we were never taught how to use the academic planners.
I didn’t start using a planner until college. And even then, I didn’t truly know how to use it. Mostly I would go to class and write down anything a professor said to do. This wasn’t helping me because I kept forgetting assignments. Or I wouldn’t know where to put the task in my planner.
By my third year of college, after watching lots of videos and looking through Pinterest, I learned how to properly use my planner. There is so much information out there about planners, it can become overwhelming. But now that I am in grad school I have found a system that works for me. So I decided to create a short guide to help others learn how to use an academic planner.
Here is how to use your academic planner
Make sure you have the right planner
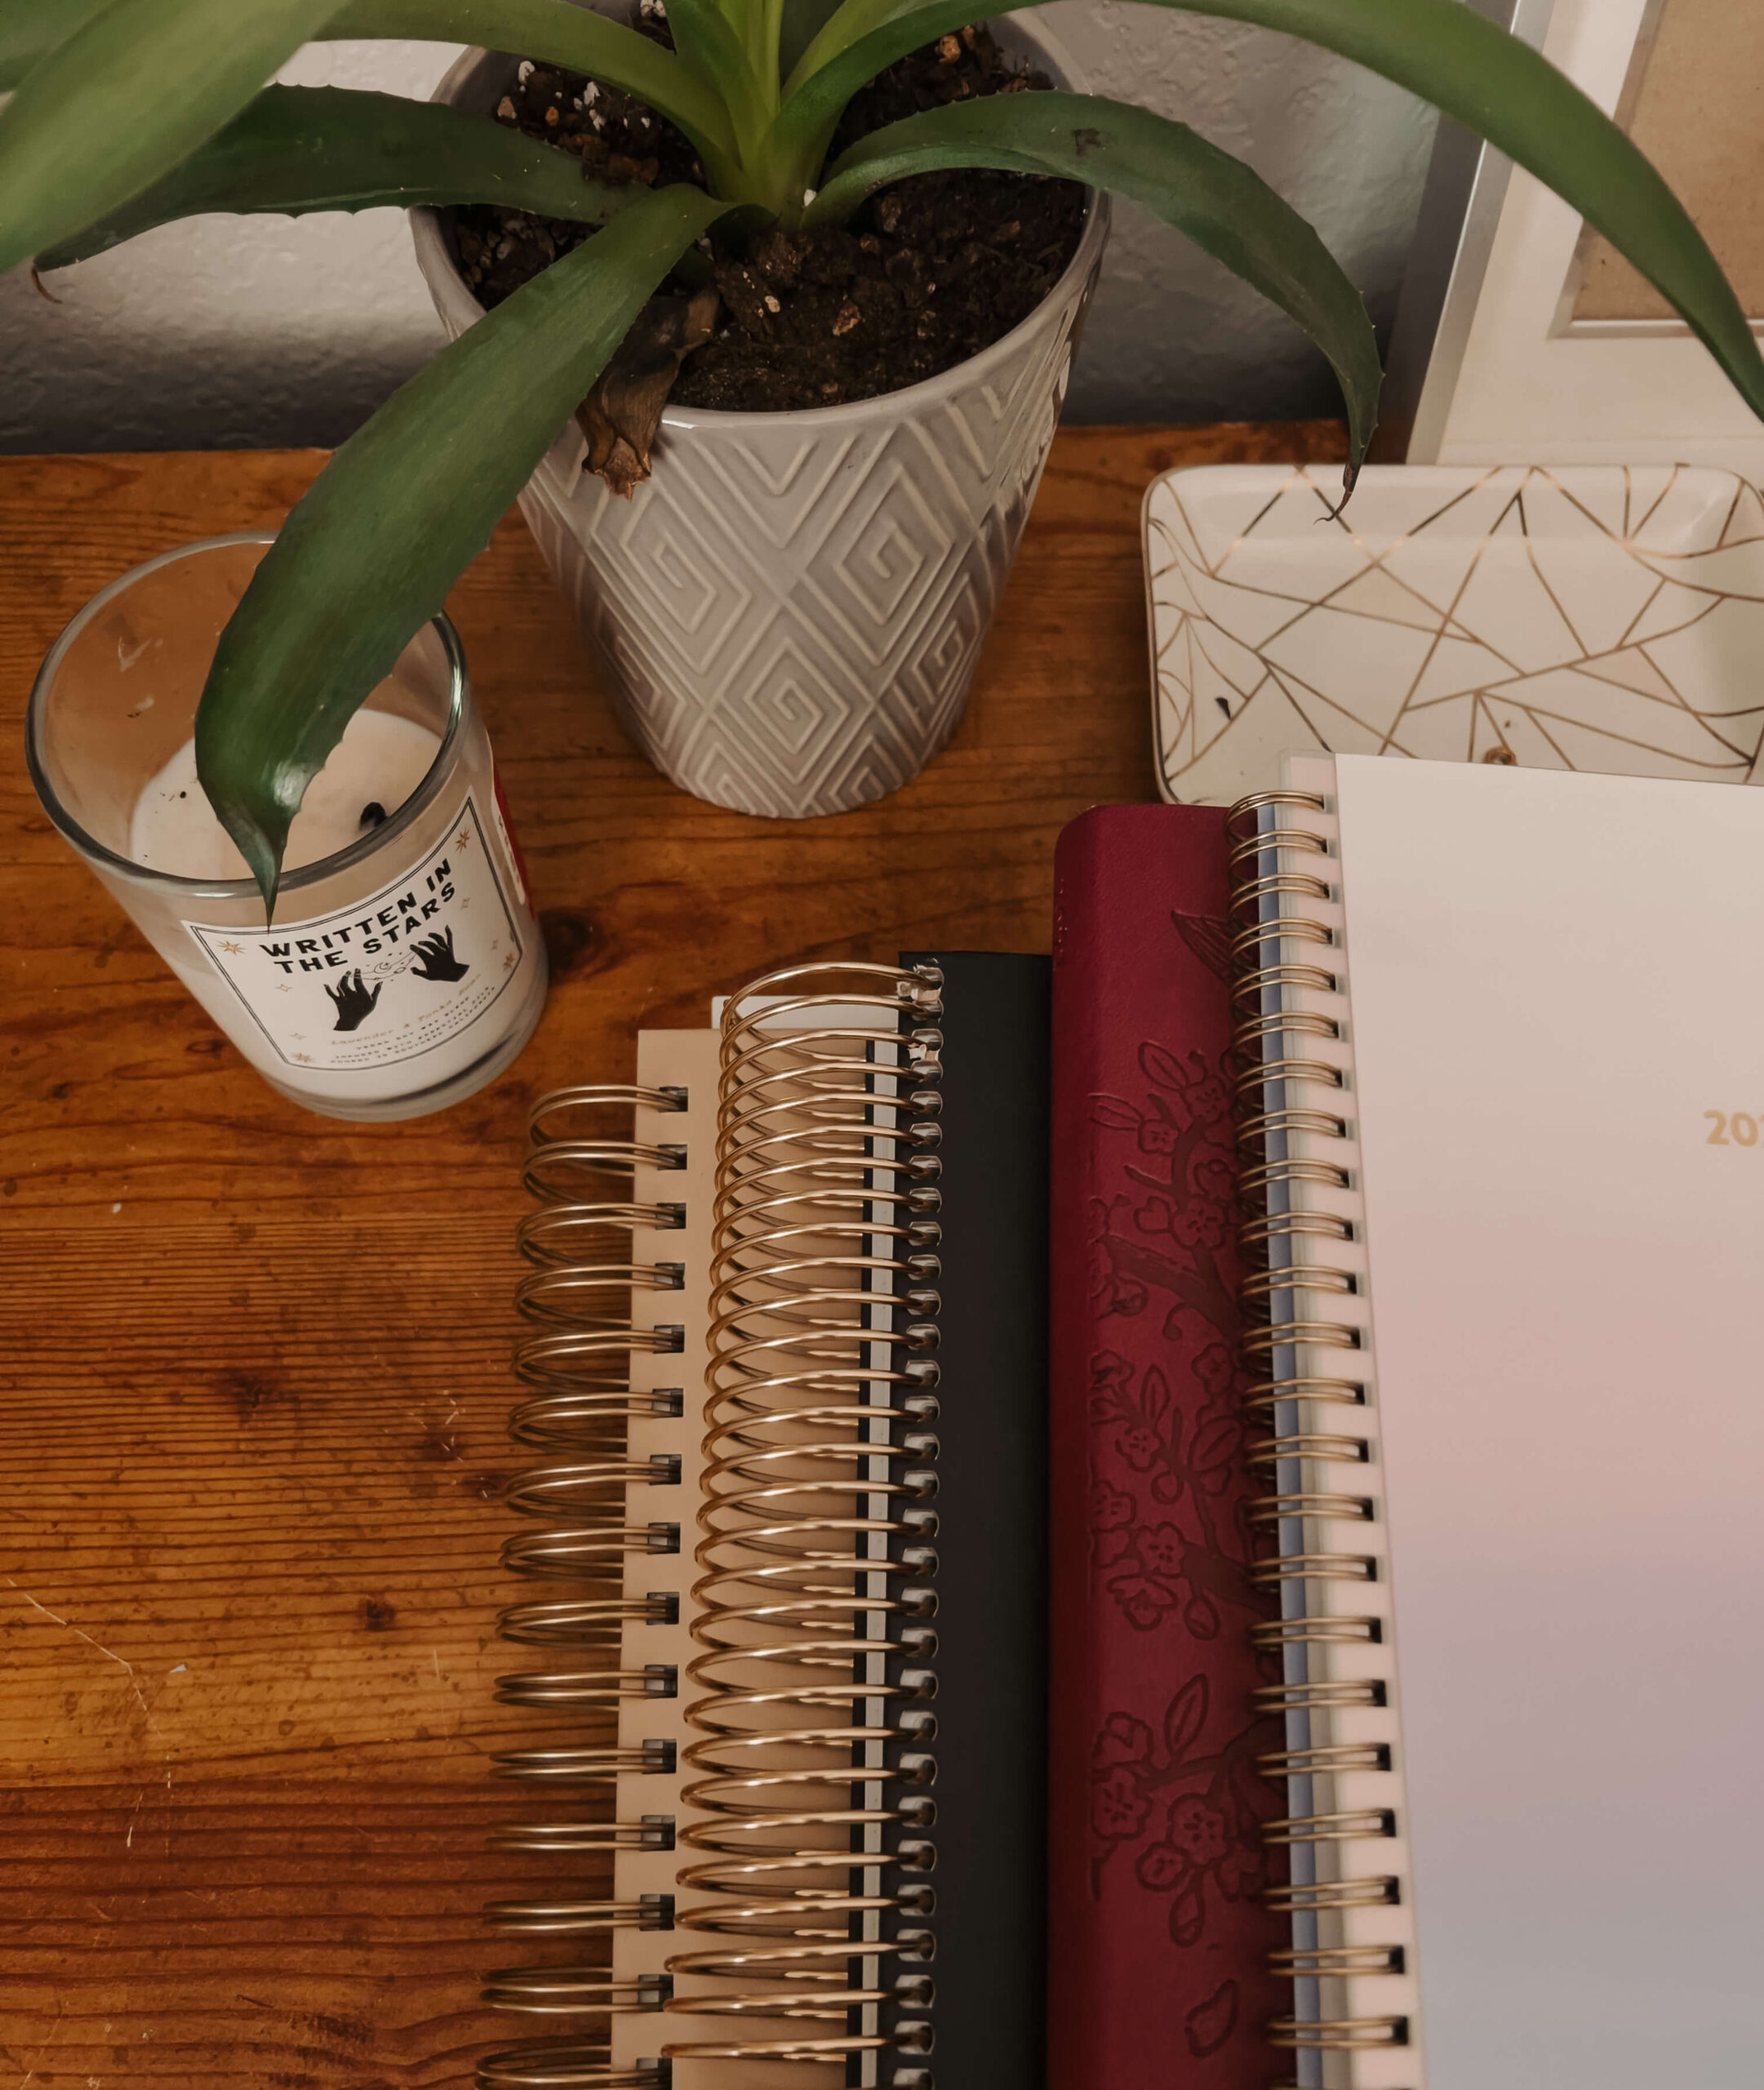
There are so many planners out there it can be overwhelming. Most students settle and go to their campus bookstore or Target and grab the first planner they see. Or they get a planner with a pretty cover. But having the right planner makes more of a difference than you realize.
Planners have so many different layouts depending on what someone needs. Here is a list of things to consider when choosing a planner:
- Monthly calendar: Most planners have this. But monthly layouts are a great way to schedule events.
- Weekly layout: This is the most common layout. It is basic but good to plan your week out.
- Daily layouts: If you need more structure or room to plan, daily layouts are a great option. This usually means each day of the week gets its own page.
- Daily time schedule: This is a great option if you have a crazy schedule. Each day has time blocks to schedule out the hours of your day
- To-do lists: Most planners have this. But consider if you need a daily, weekly, or monthly to-do list
- Extra pages: Flip through your planner and look at the extra pages, usually in the front. Do you need a place to write your course schedule? Assignment tracker? Make sure it has those small things you might need
I have tried many planners over the years. If you want some recommendations for planners, you can read more here.
Start by adding the basics
Whenever I get a planner, I start with the basics I know. Start on the first page and add your name and other info. If you already know your class schedule and professors, add that. I recommend getting a planner that has a section for course information. Because there will be a point when you need to email your professor at 2 am, and you will be unable to find that contact information. It is best to have everything in a place you can easily find it.
Then I go into the monthly sections and add important dates. Dates to consider adding to your planner:
- Breaks
- First/last day of the semester
- Withdrawal dates (just in case)
- Important school events
During syllabus week
This is the boring week we all kinda hate. It is nice to not have any hard classes, but sitting and going through a syllabus can be boring. But this is the perfect time to get organized.
When you are handed your syllabus there will be a page of all the dates and assignments. Take that and add it to your planner. And I mean all of it. Chances are, not much will change once you are handed that. And if it does, whiteout exists.
As the semester goes on, you are going to have less time to fill out your planner. It also helps your plan your week or month when you know what is coming up in the following weeks.
Here are the steps I take:
- Add all the assignments to my weekly calendar. Each week I add what is due and then highlight it.
- Add all the readings and other things I need to get done. This is an important step to remind yourself of all the work you truly have. And it helps with time management.
- Add test dates to my monthly calendar. By adding these and highlighting them, I know how much time I have to study for a test.
- Add my assignments to my monthly calendar. This is slightly competitive but it reminds me of how much time I have to write papers, do group projects, etc.
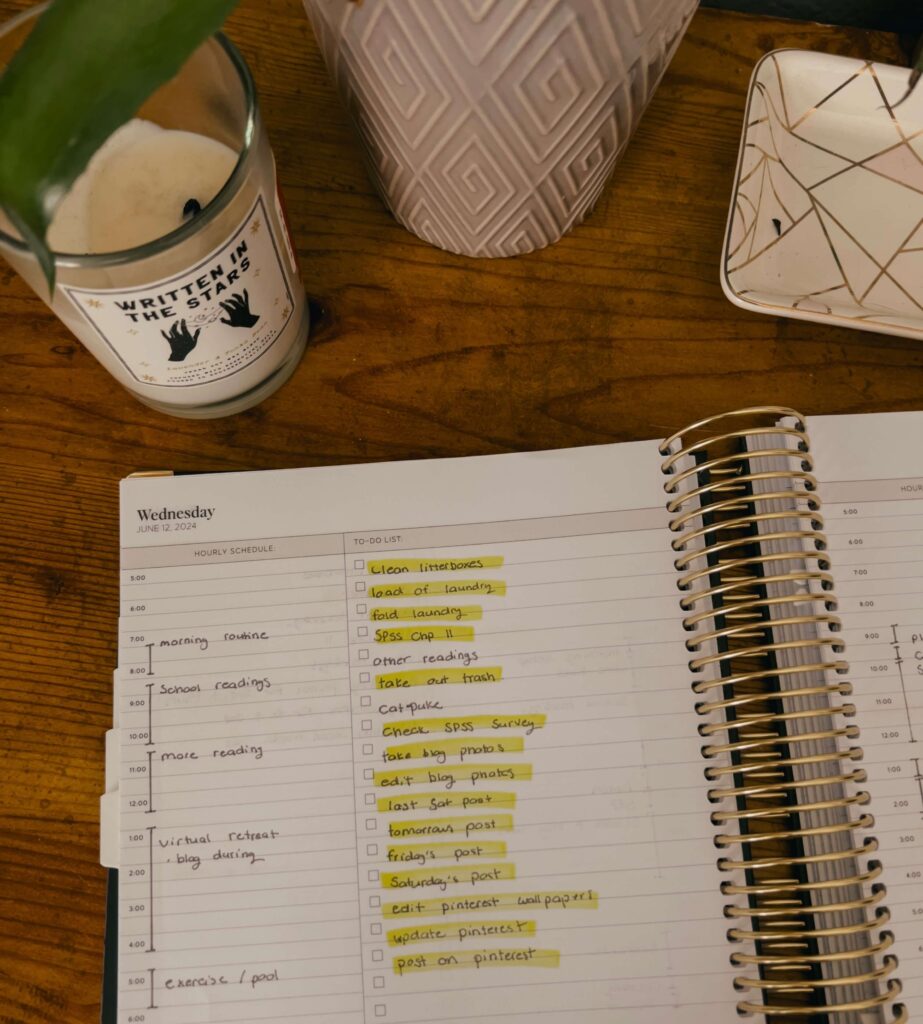
Beginning of the week
This is the perfect time to plan out how you will spend the week. This step should take about 15 minutes but will save you countless hours.
Here is what I do at the beginning of each week:
- Time block: If you have a time-blocking calendar, now is the time to fill it out. Add your classes, group studies, work, clubs, or any other commitments. Once this is filled out you will see how much time is still in your week. Next, I look for gaps in time to study. Then I fill in what and where I want to study during that time. Remember, this is all just to plan and it doesn’t need to be a set big commitment. But writing it down will help you remember to do it.
- Make a to-do list: I dedicate a section of my planner to non-academic things I would like to get done. Such as laundry, grocery shopping, or texting someone back.
Use your planner each day.
Each day, open up your planner to make sure you are staying on task. Mark out things as you get them done (it is a great feeling!) The more you open it, the more you are going to use it.
Knowing how to use your academic planner is really easy
It doesn’t take much out of your day to use an academic planner. And the habit will help you stay organized and have *slightly* less stress.



Hey people!!!!!
Good mood and good luck to everyone!!!!!